OMI Controller Quick Start Guide
OMI PEMF Mat User Manual Download
OMI PEMF Therapy Mat and OMI PEMF Therapy Ring Quick Start Guide
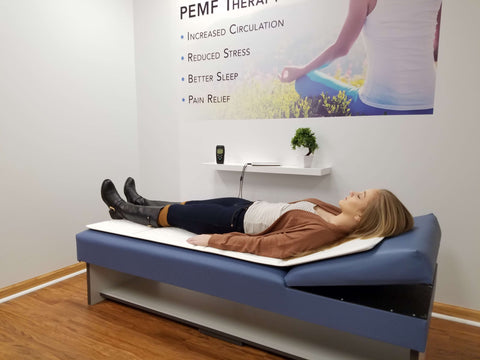
The OMI family of Pulsed Electro Magnetic Field Therapy products are the most affordable products available today offering highly effective PEMF Therapy.
Welcome to the OMI PEMF Therapy Quick Start Guide. Before you use your new OMI PEMF Mat or OMI PEMF Therapy Ring for the first time, please read these quick start guidelines.
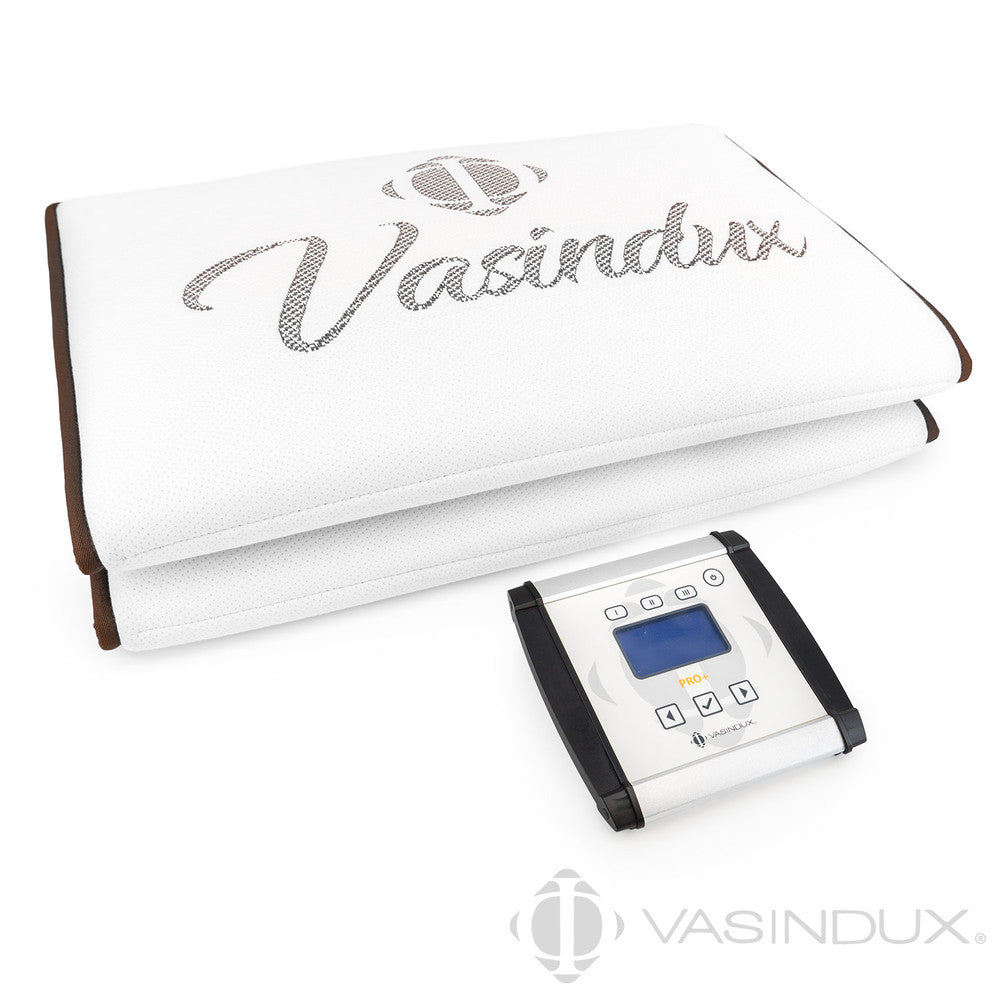
Inspect your new Product. Open the box containing your new OMI PEMF Mat, Ring or Mini Mat. Note that the Mat is safely inside a lightweight protective sleeve. Remove the Mat from the sleeve, and gently unfold the Mat. Lay the Mat on a flat, firm surface. The PEMF Therapy Ring will arrive in its own re-usable storage box.
Note: Your PEMF Therapy Mat features a quad-fold design for ease of use and transport. This makes the Mat less bulky and easier to pack for business trips or family vacations.
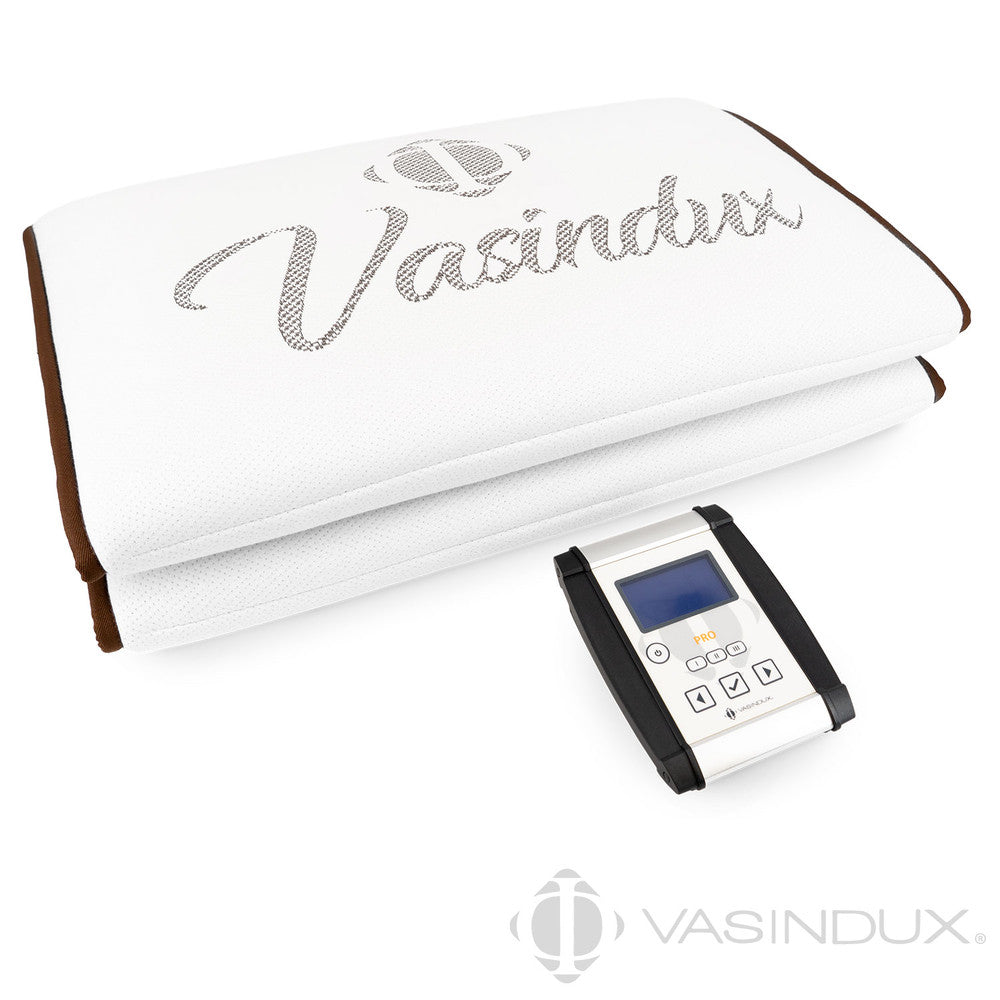
Identify the controller: Note the controller is attached to your Mat or Ring. The controller is lightweight and easy to use. The controller has an AC cord that you will plug into the closest outlet prior to plugging it into the controller. Now you can select your Program, Frequency and Time. While the mat, ring and mini mat may have different types of controllers, the programming is the same.

You will use the Arrow Up or Down buttons when you want to change the Program, Frequency or Time, and then press the Start/OK button after selecting each function. If you do not want to listen to the beep which indicates each minute and the end of the set time, you may press the Sound/Mute Button to turn the beep off or on.
Setting the Controller:
1) First - Set your program.
The OMI mat allows you to take control of your therapy. The controller offers program settings: P1, P2, and P3. Notice the Program light on the left side of the controller will be lit up for each function – Program, Frequency and Time. To select a Program, press the Arrow Up or Arrow Down button on the right hand side of the controller. Then press the Start/OK button on the bottom right hand side of the controller to select the program.
2) Second - Set your frequency:
Programs P1 or P2: The frequency is preset for you
P1 emits a range of frequencies between 12-22 HZ. It pulses on each frequency for 7 seconds as it goes up to 22 Hz and back down to 12 Hz. There is an 8 second pause before starting over again. This is a good setting to use in the morning or during the day.
P2 emits a range of frequencies between 8-12 HZ. It pulses on each frequency for 7 seconds as it goes up to 12 Hz and back down to 8 Hz. There is an 8 second pause before starting over again. This is a good option for early evening or to relax.
If you choose to use the General Program Settings P1 or P2, simply press: Arrow Up or Arrow Down. Notice that the light on the left hand side of the controller will now be identifying the Frequency setting. When you see the Program Setting that you would like to use, press Start/OK.
Program P3: User selects the frequency setting
If you choose to use the Manual Programmable Setting – P3, then you will have an additional step to select the frequency. Press: Arrow Up or Arrow Down to select your frequency from 1-30 HZ. Then press: Start/OK.
Please note – The lower frequencies are the most effective. General guidelines suggest choosing frequencies between 1-30 Hz in the morning and during the day, and using P3 at 10 Hz or below in the evening to promote restful sleep.
3 ) Lastly - Set your time: Now that you have selected your program and the frequency you wish to use, you may now set the length of time you wish to use the mat. You may adjust the minutes by simply pushing the Arrow Up or Arrow Down button on your controller. Once you set the time Press: Start/OK and your session will begin indicated by the “Operation” light.